Multiple properties, one account
When you sign up with Travelnest, you’re not limited to a single property per account. You can add as many additional properties as you like. The more valid properties you list, the greater your visibility across more than 30 top booking sites.
How to add an additional property

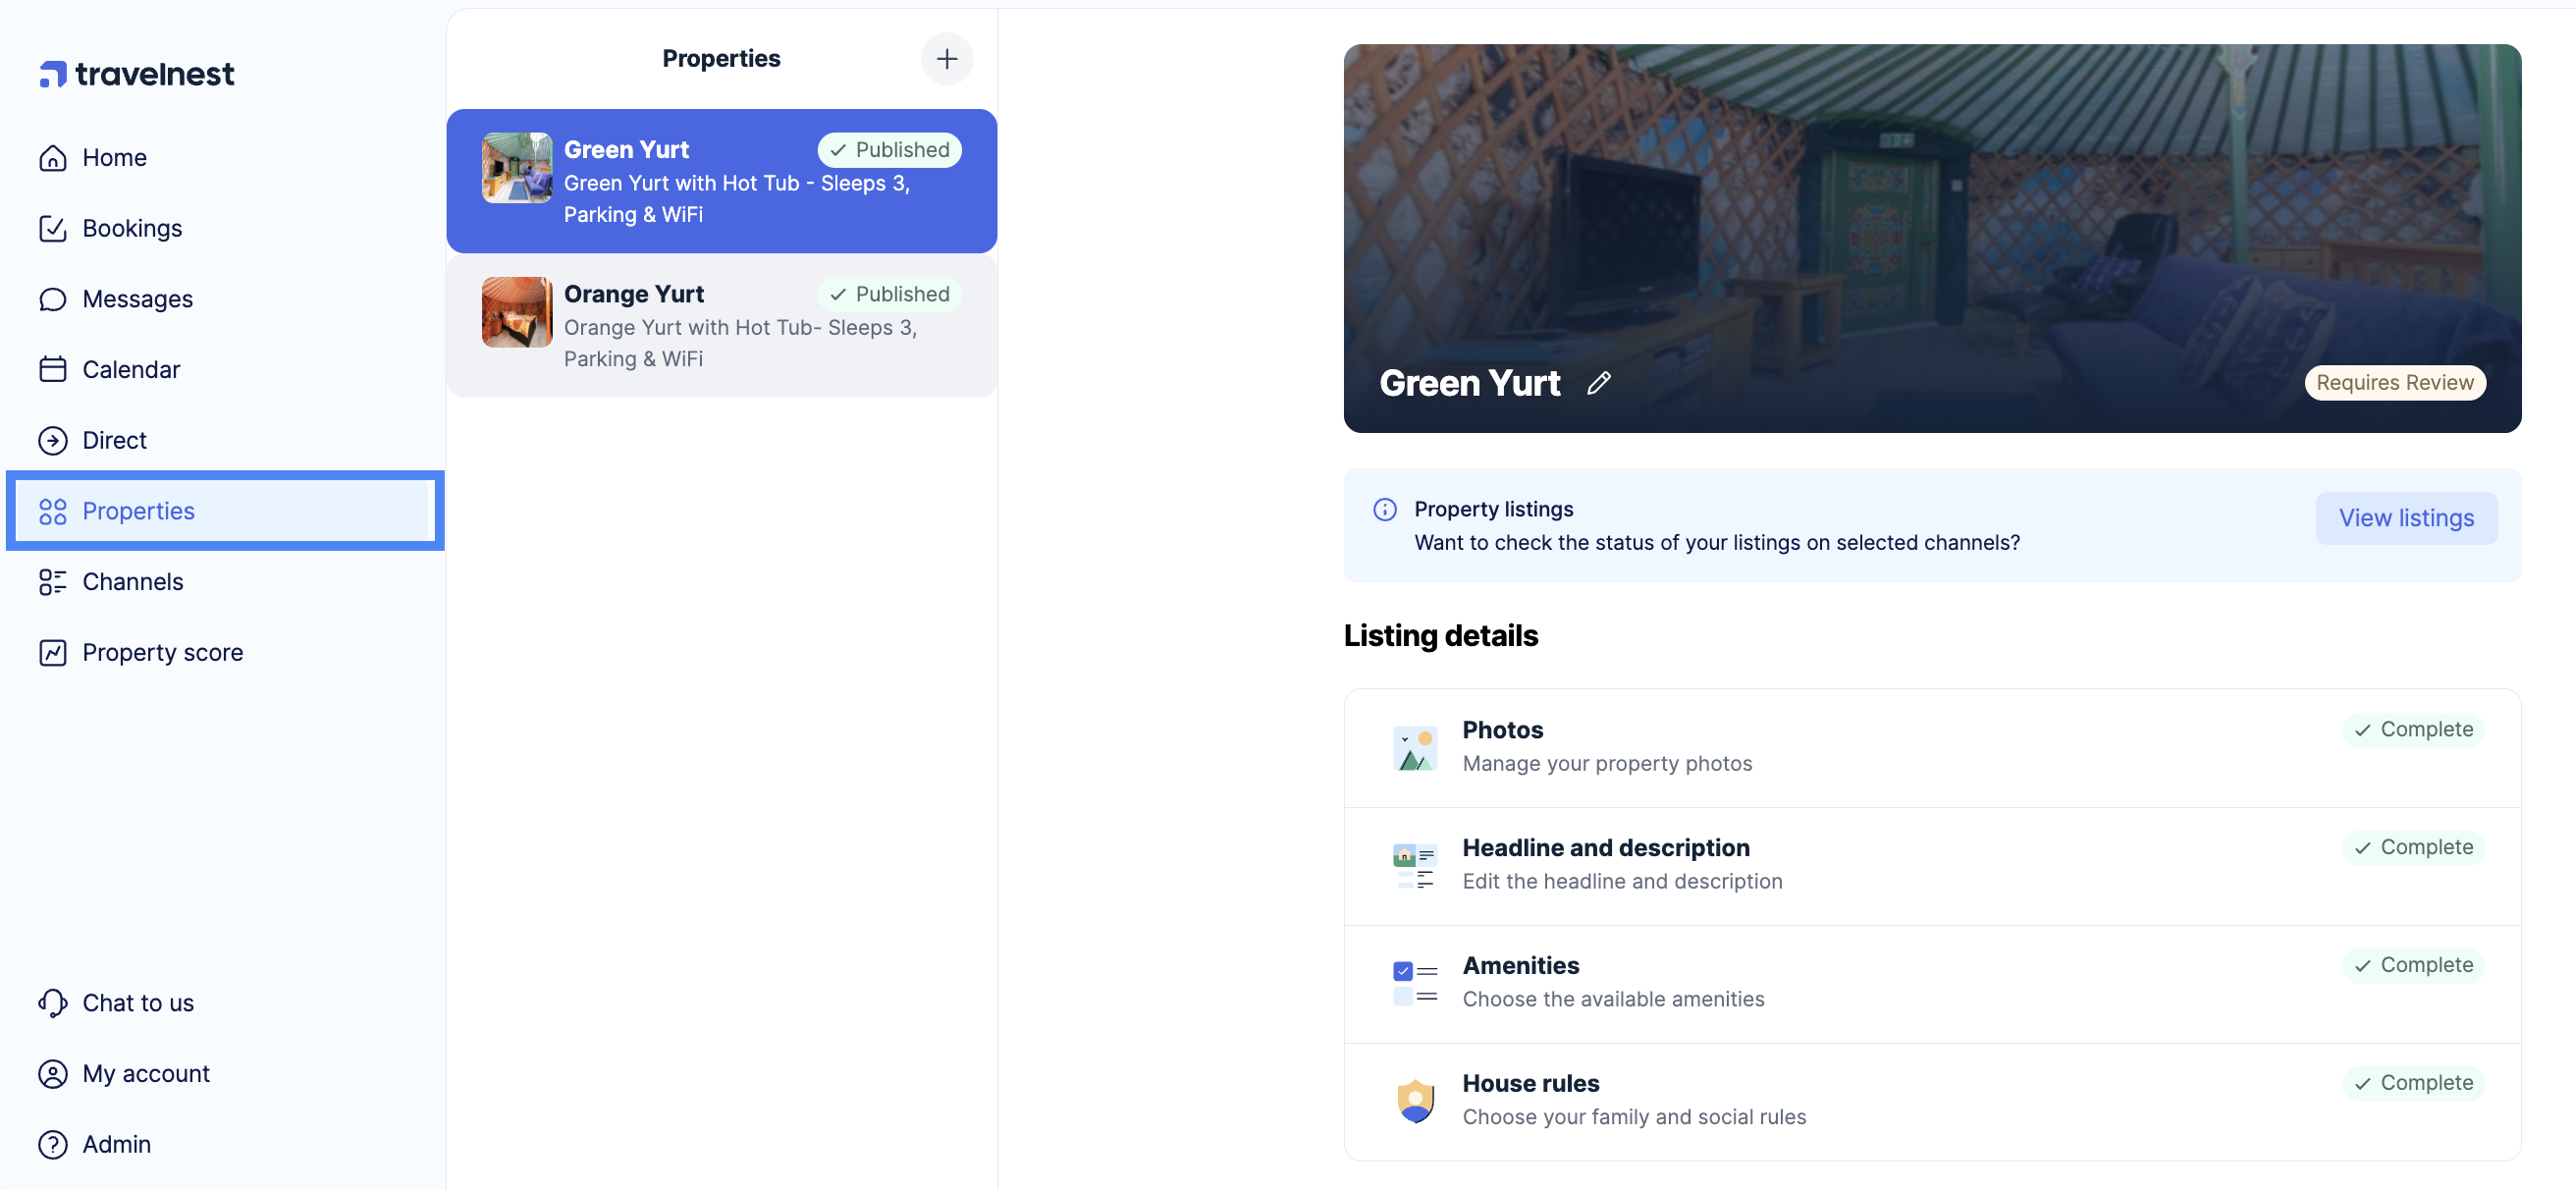
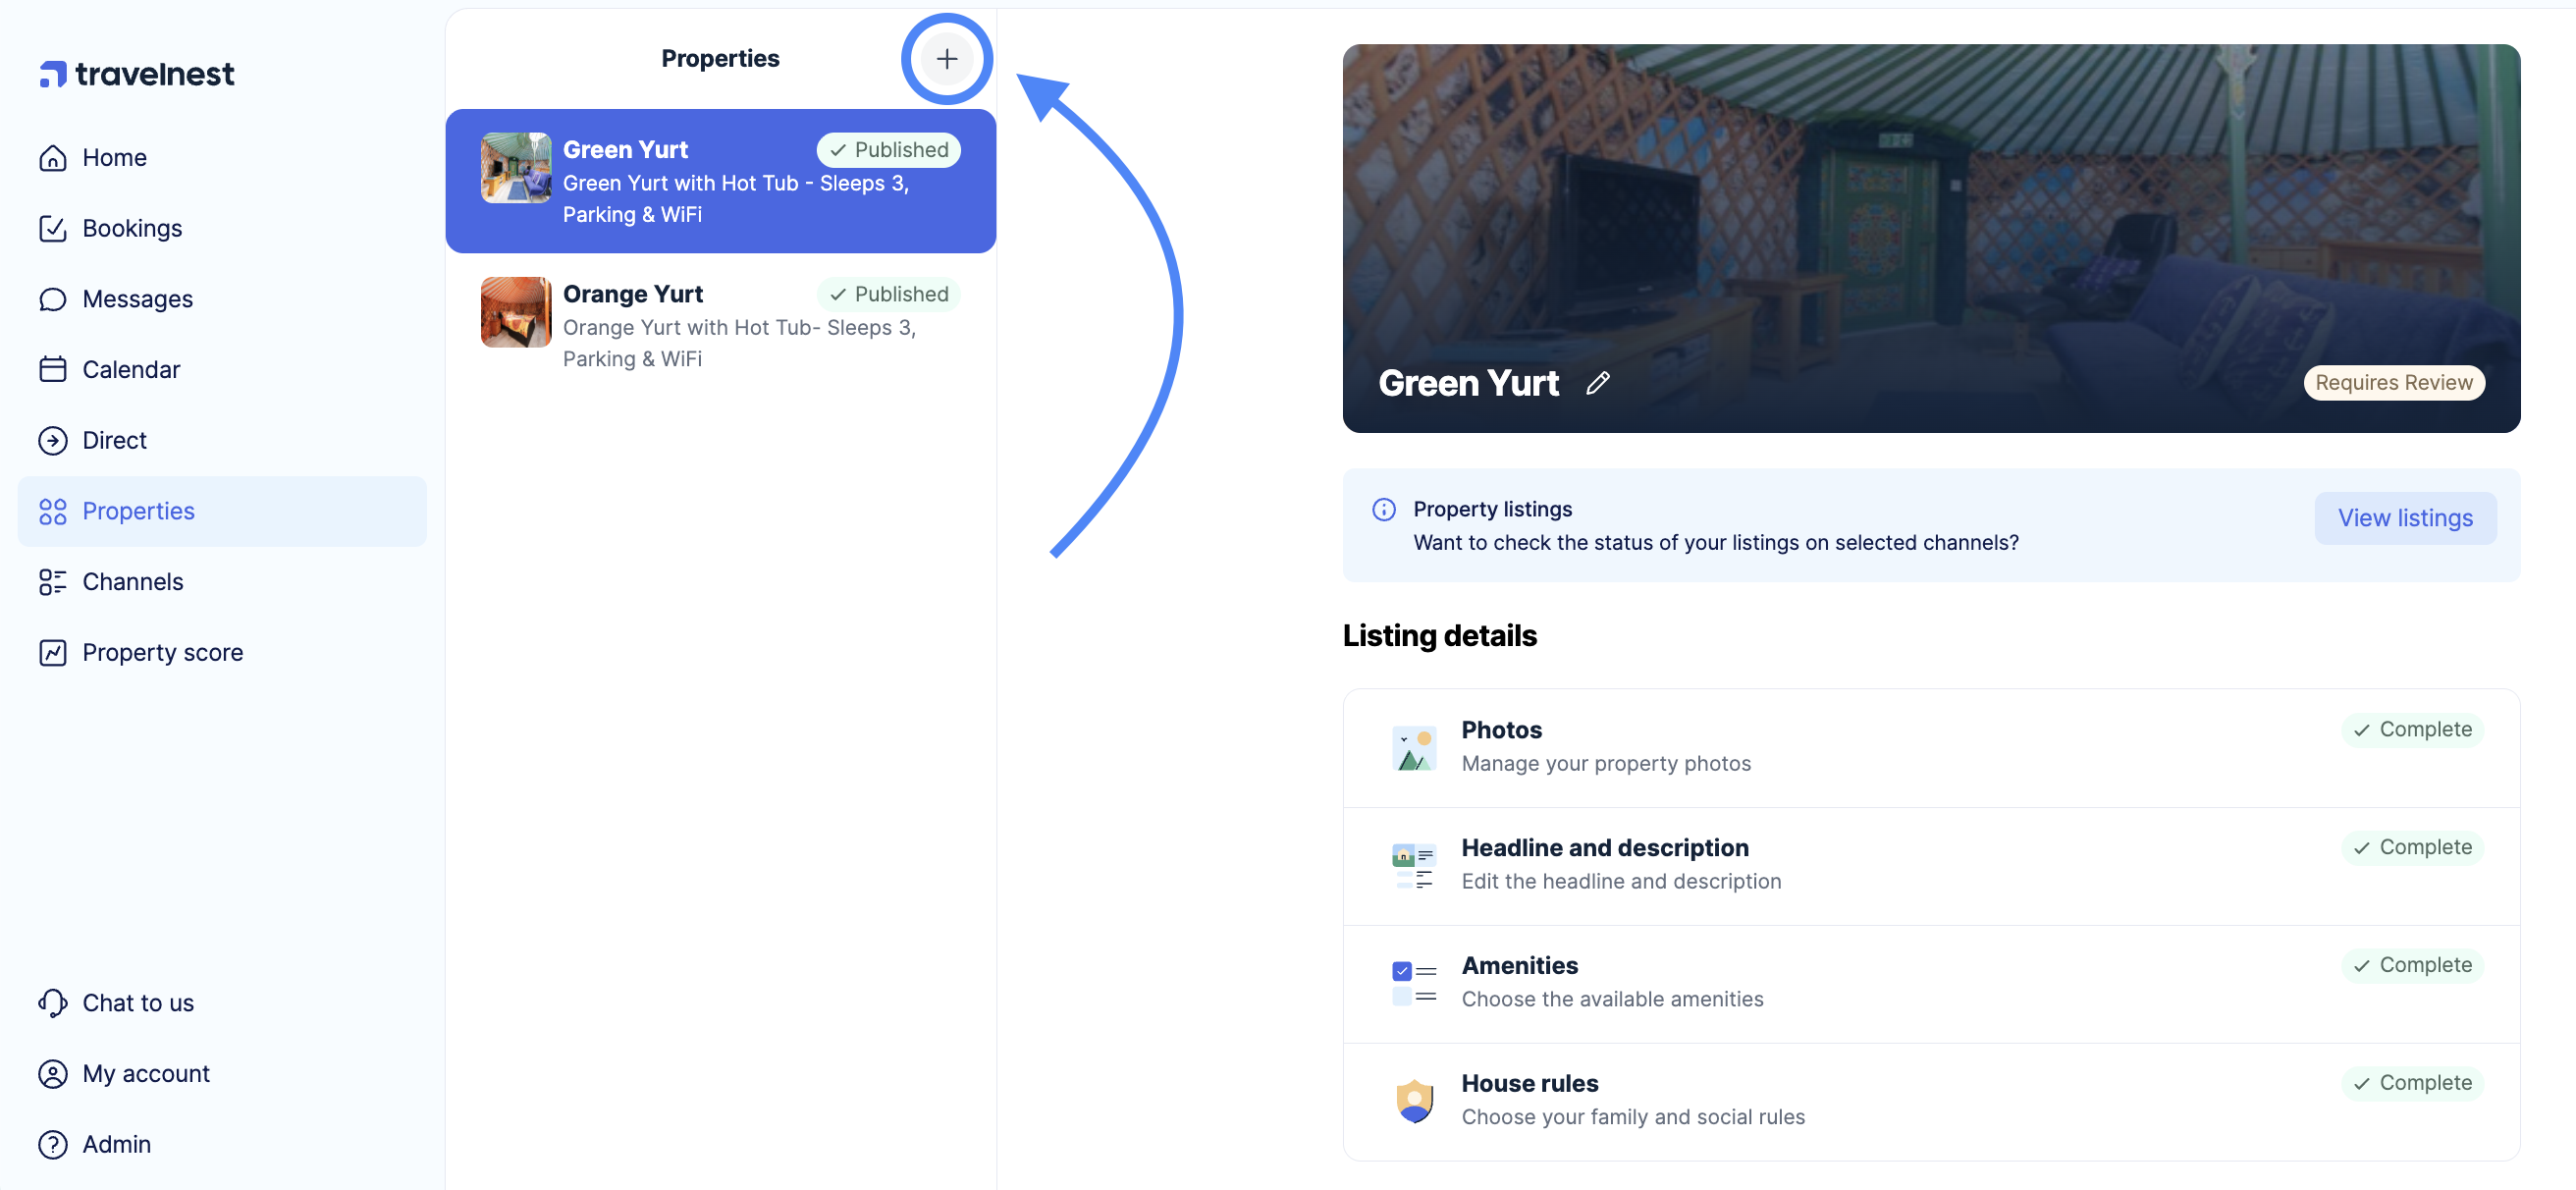
- Click the + (plus) button next to the word Properties in the middle column

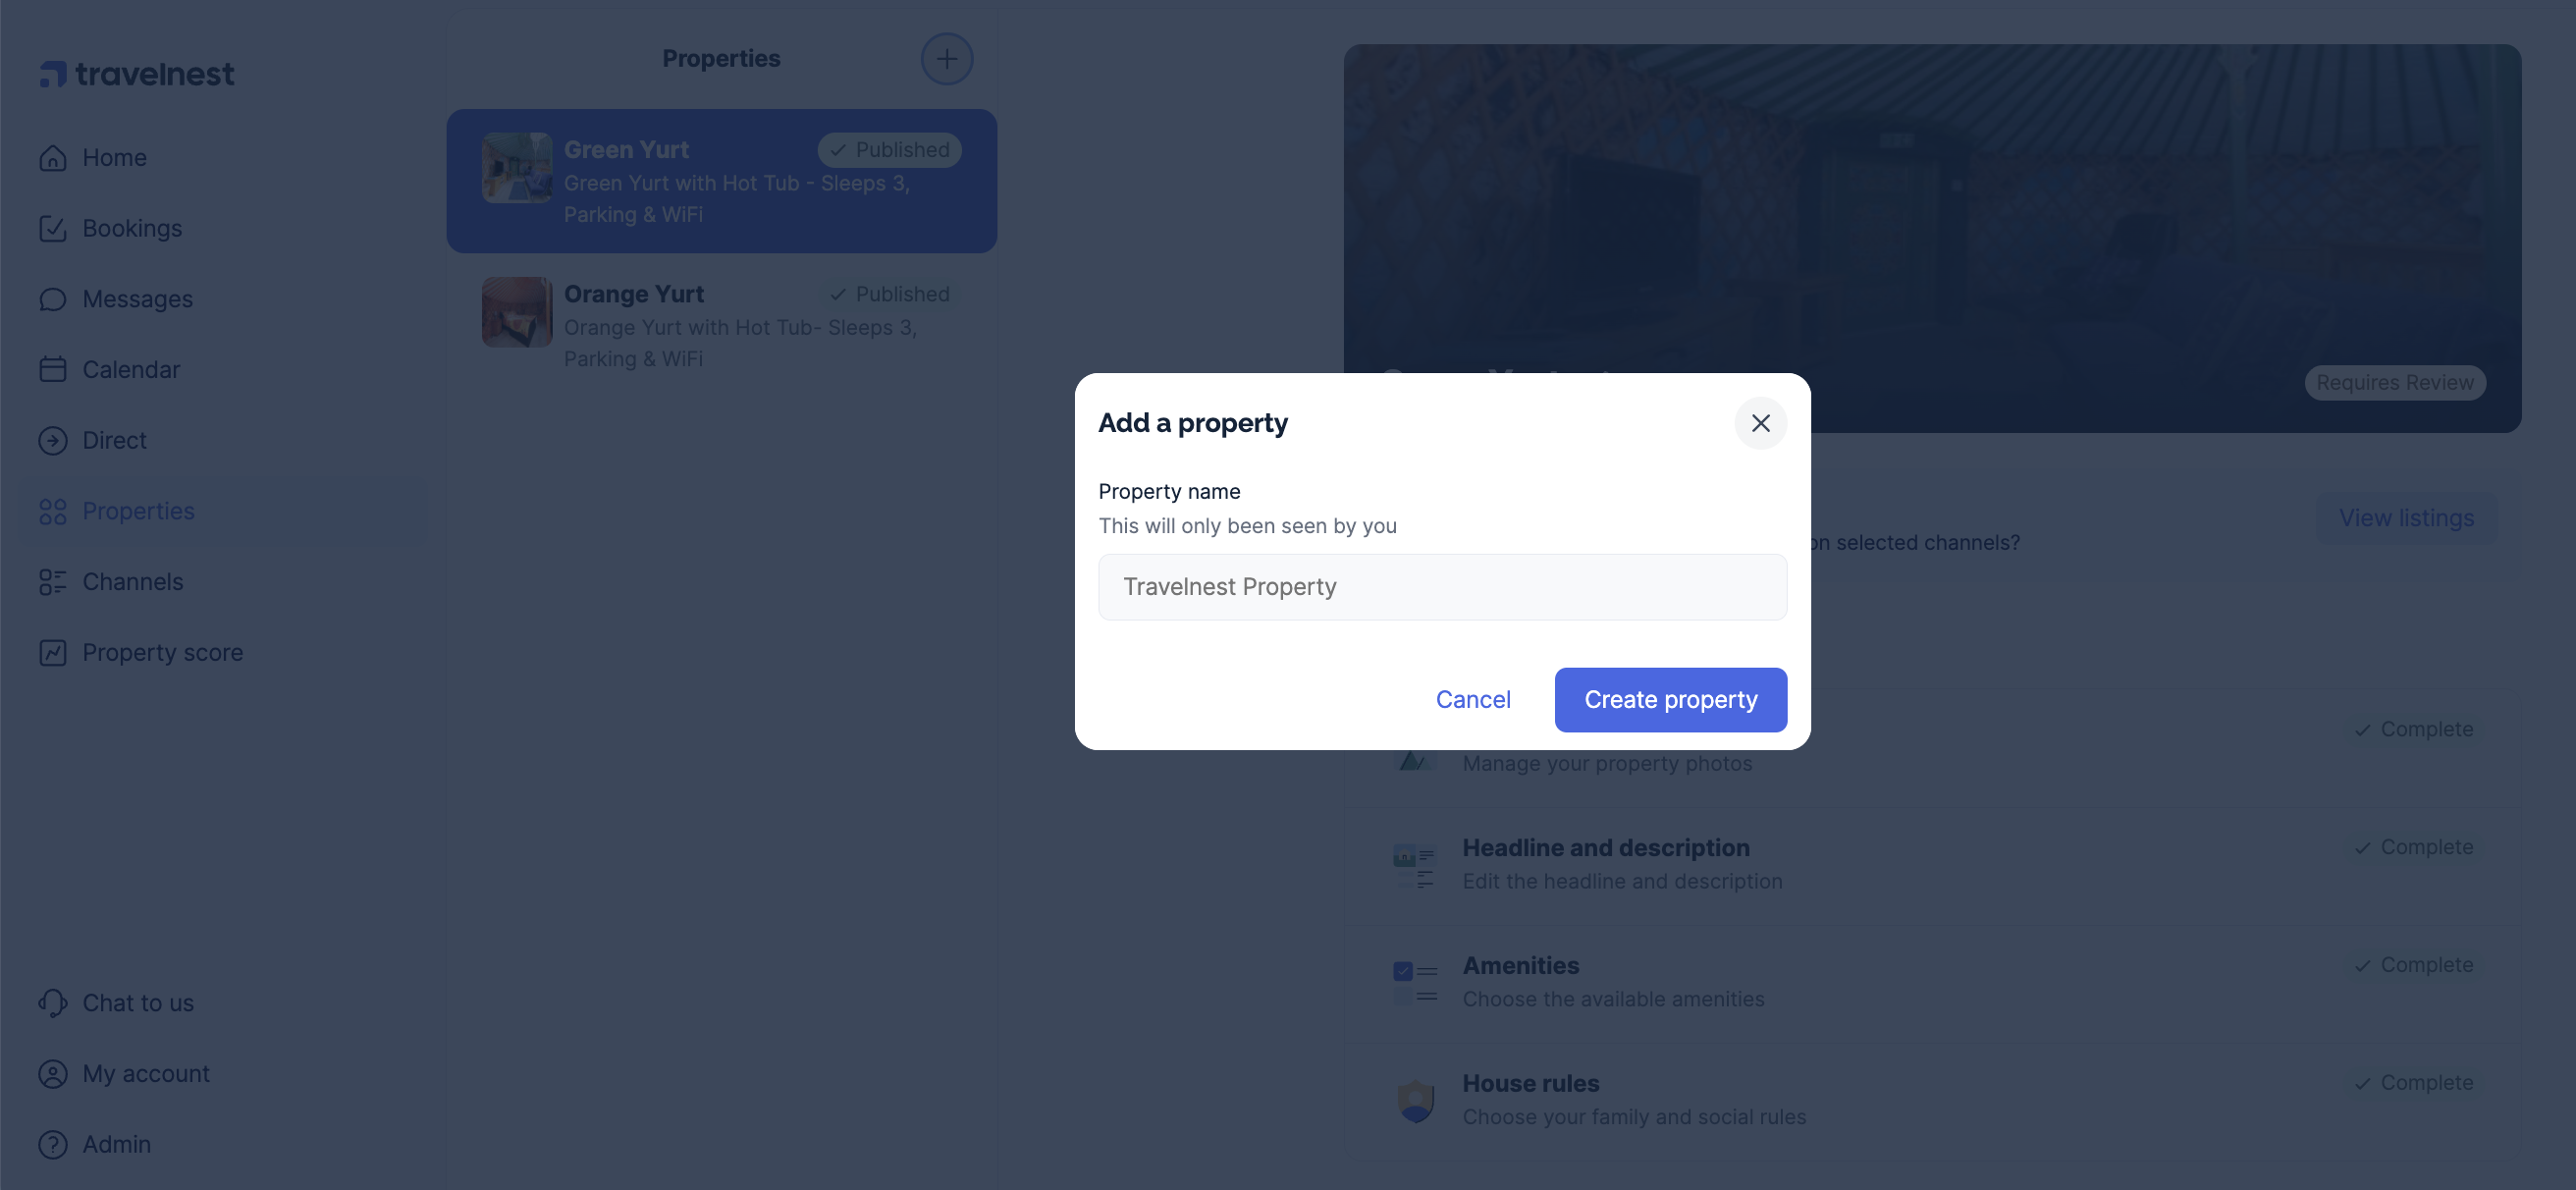
- Enter your property name and click Create property.

Once created, you will need to input your additional property's details just as you did when you first signed up with Travelnest.
Tips for managing new properties
- Use Travelnest's Smart pricing tool to quickly set competitive rates.
- Use Travelnest's calendar sync feature to seamlessly synchronise your calendars with any booking sites you use.
- You can book a free optimisation call for each new property listing to maximise visibility and bookings!
Was this article helpful?
That’s Great!
Thank you for your feedback
Sorry! We couldn't be helpful
Thank you for your feedback
Feedback sent
We appreciate your effort and will try to fix the article